
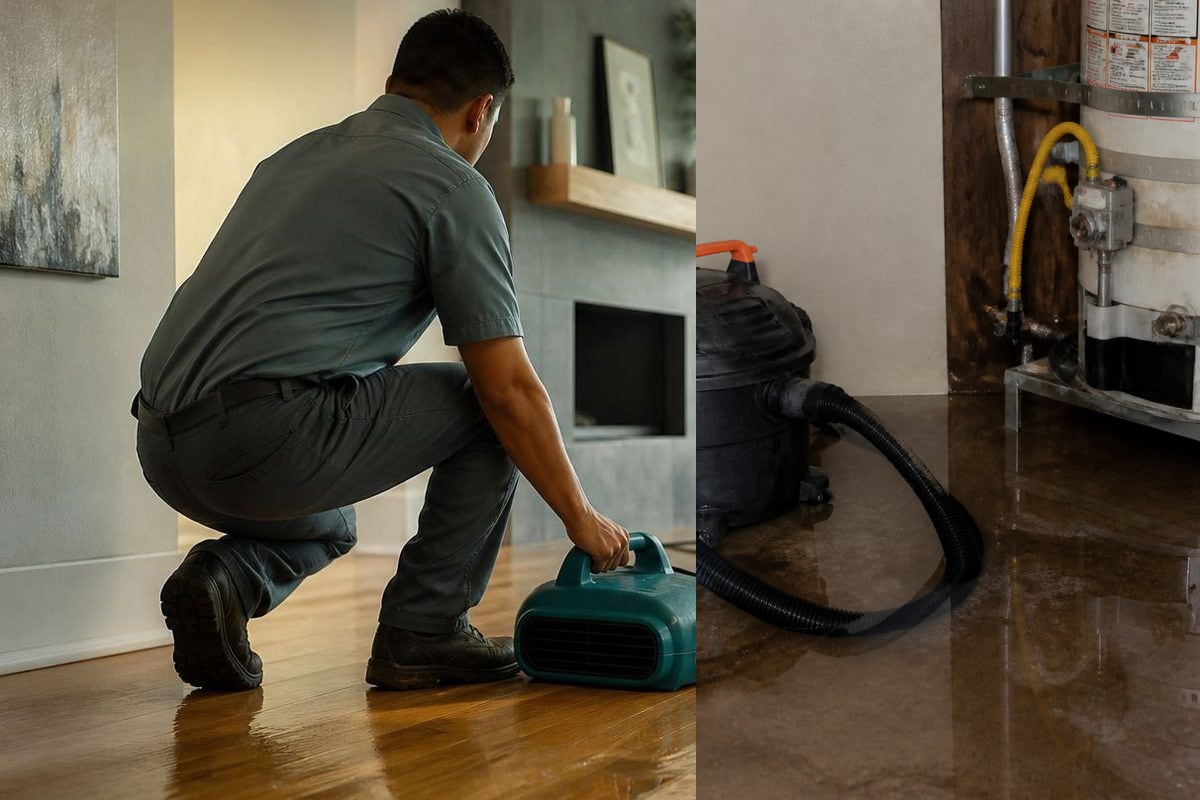
The instinct after discovering damage is to start cleaning immediately. That instinct, while understandable, can quietly work against you. Once water is extracted, debris is cleared, or damaged items are thrown out, the visual evidence of what actually happened often goes with it. And that evidence is exactly what your insurance claim depends on.
This guide walks through what to document, in what order, and how documentation needs shift depending on whether you're dealing with water, fire, mold, or sewage damage.
Why Documentation Matters Before Cleanup Begins
Documentation matters because it creates the evidence your insurance claim relies on to prove what happened and how extensive the damage was. Once cleanup starts, some of that evidence disappears permanently, even with the best intentions.
Good documentation doesn't guarantee a specific claim outcome, but it does give your insurer clear, professional evidence to work from, which tends to move the process along more smoothly than a claim built on memory and description alone.
Step 1: Ensure Safety First
Documentation should never come before your own safety. Before you photograph anything, check for structural hazards, exposed electrical wiring, and contaminated water that could pose a health risk. If any of these are present, treat safety as the priority and document only what you can safely access.
- Avoid standing water near electrical outlets or panels
- Watch for sagging ceilings or visibly compromised structural elements
- Assume contaminated water (from sewage or flooding) carries health risks and limit direct contact
- Ventilate the area if smoke or strong odors are present
If the situation feels unsafe at all, prioritize calling for professional help before continuing to document. See When to Call for Emergency Restoration Help below.
Step 2: Take Photos and Videos of the Damage
Photograph and video every affected area before touching anything, capturing both wide shots of the full scope and close-ups of specific damage. This combination gives you both context and detail, which matters more than either alone.
Photo Checklist for Property Owners
- Wide-angle shots of each affected room from multiple angles
- Close-up shots of specific damage, like water stains, charring, or visible mold
- Shots of the damage source itself, such as a burst pipe or fire origin point, if visible and safe to photograph
- Photos with a timestamp or a dated object included, if your camera doesn't automatically stamp the date
- Shots of any damaged personal items before they're moved or discarded
- Photos of the surrounding, unaffected areas for context and comparison
Recording a Video Walkthrough
A narrated video walkthrough, where you describe what you're seeing as you move through the space, captures context that still photos alone can miss. Speak clearly about what happened, when you noticed it, and what each area looked like before the damage, if you remember.
Step 3: Create a Detailed Inventory of Damaged Items
An inventory should list every damaged item individually, along with its approximate age, condition, and value, ideally supported by receipts or other proof of ownership. This becomes especially important for personal belongings, which are easy to underestimate once they're gone.
What to Include in Your Inventory
- Item description, including brand and model when relevant
- Approximate purchase date and price
- Current condition before the damage occurred
- Photo reference for each item
- Estimated replacement cost, where you can reasonably determine it
Saving Receipts and Proof of Ownership
Receipts are the strongest proof of ownership and value, but they aren't the only option if you don't have them. Photos of the item in your home prior to the loss, credit card statements, warranty cards, or manuals can also support your claim. Gather what you have rather than assuming a missing receipt disqualifies an item.
Step 4: Notify Your Insurance Company
Notify your insurer as soon as reasonably possible after documenting the damage, since most policies expect prompt reporting. Have your policy number and a summary of what happened ready, along with your photo and video documentation.
For a complete walkthrough of what happens after you report a claim, see How the Property Damage Insurance Claim Process Works.
Step 5: Get a Professional Inspection or Estimate
A professional inspection adds expert documentation of the damage's scope and cause, which strengthens what you've already gathered on your own. A restoration company or your insurer's adjuster can identify damage that isn't visible to an untrained eye, like moisture trapped behind walls or smoke infiltration in ductwork.
Getting a professional restoration estimate early also gives you a second, independent source of documentation to compare against your insurer's assessment. Restoration Estimate vs. Insurance Estimate: Understanding the Difference explains why these numbers sometimes differ and what that means for you.
Documentation Differences by Damage Type
Documentation needs shift depending on the type of damage, since each type leaves different evidence and carries different urgency around evidence loss. Here's what to focus on for each of the major categories.
Fire and Smoke Damage
Document both direct fire damage and smoke or soot infiltration, which often extends well beyond the visible burn area. Photograph ductwork, walls, and items in rooms the fire never physically reached, since smoke damage there is still real and often overlooked.
Water and Flood Damage
Document the water source, the affected areas, and how high water reached on walls or furniture if visible. Note how long the water was present before you discovered it, since this affects both the mitigation approach and the claim.
Mold
Photograph visible mold growth patterns clearly, along with any notes about musty odors, even in areas without visible growth. Document the suspected moisture source as well, since remediation without addressing the source is a common and costly mistake.
Sewage and Sewer Backup
Document contaminated areas thoroughly before any cleanup, but avoid direct contact with sewage water during documentation. Photograph from a safe distance where possible, and prioritize calling a professional promptly given the health risks involved with Category 3 contaminated water.
Common Documentation Mistakes to Avoid
The most common mistakes are discarding damaged items too early, taking incomplete or poorly lit photos, and waiting too long to start documenting. Each of these can weaken an otherwise straightforward claim.
- Throwing away damaged items before your insurer has reviewed them
- Taking only a few photos instead of thoroughly covering each area
- Cleaning up before photographing, even with good intentions
- Waiting several days to document, allowing evidence to change or disappear
- Forgetting to photograph the damage source itself, not just the resulting damage
- Failing to keep a copy of your documentation in more than one place
When to Consult an Attorney or Public Adjuster
Consider consulting an attorney or public adjuster if your documentation reveals a large or complex loss, or if you anticipate disputes with your insurer. A public adjuster works on your behalf, rather than the insurer's, to help document and negotiate your claim.
This is general information, not legal advice, and LA Water Damage is not a law firm. If your situation feels complex, a licensed professional familiar with California property claims can advise you on your specific options.
When to Call for Emergency Restoration Help
Call for emergency restoration help as soon as it's safe to do so, especially if water, fire, or contamination is actively spreading. Documentation matters, but it should never delay urgent safety or mitigation needs when the situation calls for immediate action.
If the damage is severe or ongoing, prioritize calling for help first and document what you safely can once professionals are on site or the immediate danger has passed. [details pending verification] LA Water Damage responds to property damage emergencies across Greater Los Angeles. Reach out at request a callback for urgent situations.
Documenting Property Damage in Los Angeles
Documenting property damage in Greater Los Angeles often means accounting for the region's older housing stock, where original plumbing, plaster, and electrical systems can complicate both the damage itself and what documentation ends up mattering most. Homes and commercial buildings built before the 1960s are common throughout the region, and their materials sometimes behave differently under water, fire, or moisture exposure than newer construction.
Whether you're dealing with a renter-occupied unit, a single-family home, or a commercial space, thorough documentation before cleanup gives you the strongest foundation for whatever comes next. LA Water Damage supports property owners across Greater Los Angeles with documentation and inspection assistance. Contact request a callback or contact form to get started.
Frequently Asked Questions About Documenting Property Damage
Should I throw away damaged items before filing an insurance claim?
Generally, no. Keep damaged items until your insurer or adjuster has had a chance to review them, unless they pose a safety or health hazard. If you must dispose of something quickly, photograph and document it thoroughly first, and note why it had to be removed.
How many photos should I take of the damage?
More is better than fewer. Capture wide shots showing the full scope of each affected area plus close-ups of specific damage, from multiple angles, in good lighting when possible. A video walkthrough narrating what you see adds helpful context photos alone can miss.
Do I need to document damage before or after calling a restoration company?
Document what you safely can before cleanup begins, since some evidence disappears once mitigation starts. If the situation is urgent or unsafe, prioritize calling for emergency help first and document what you can once it's safe to do so.
What if I don't have receipts for damaged items?
Receipts help but aren't the only proof of ownership. Photos of the item in your home prior to the loss, credit card statements, warranty cards, or manuals can also support your claim. Note the approximate purchase date and price as best you can recall.
Is documentation different for mold damage than for water or fire damage?
Yes, to some degree. Mold documentation often needs to capture the visible growth pattern and any musty odor notes, alongside the underlying moisture source. Water and fire damage documentation focus more on structural and content damage extent. See the damage-type section above for specifics.
How soon after damage occurs should I start documenting?
As soon as it's safe to do so, ideally before any cleanup or repairs begin. Waiting too long risks losing evidence of the damage's original extent, which can complicate your claim later.
Can a restoration company help with documentation for my insurance claim?
Many restoration companies can help document the scope of damage as part of their assessment process, which can support your claim. This documentation assistance is not the same as legal or insurance advice, so confirm claim-specific questions with your insurer or an attorney.
Next Steps
Thorough documentation before cleanup begins is one of the most protective steps you can take for your claim, and it costs nothing but a few extra minutes with your phone camera. If you need professional inspection support in Greater Los Angeles, contact LA Water Damage at request a callback or contact form.